http://blog.zmorph3d.com/7-useful-advice-paint-3d-printed-objects/
As 3D printing has a popular manufacturing method for craftsmen and hobbyist alike, many first prints disappoint enthusiasts as the model does not come out showroom floor ready. Most displays claiming to be 3D printed, have had a lot of post-production polishing. Having a truly finished product is far from professional exclusive, and the work pays off. Your post production polishing is only as good as the surface you’re working with. In turn, advice on how to paint 3d printed objects must also focus on how a model is printed, and pre-painting steps. From design to paint, here are 7 points of useful advice on how to paint 3D printed objects.
Know Your Model, Know Your Material. Know your model’s design purpose. Know your material. Not only are certain materials better for malleability or sturdiness, various printing plastics are vastly different on how to paint 3D printed objects. ABS can be smoothed by acetone, while PLA works better with ethyl acetate. Different materials can also react to the first polishing in distinct ways as well. For example, metallic filaments are best left in a tumbler for an average of 12-36 hours. Quality wood filaments can usually be sanded like real wood. ABS is more heat resistant and works great for interlocking parts, PLA won’t warp as much during your print and is more rigid than ABS. Exotic filled filaments will mostly depend on the thermoplastic second ingredient.
Avoid edges. By edges, this refers to how much of your model is in contact with the print bed. This is more of a minor detail as most models can lose a few layers from the bottom during post processing and be fine. If your model is not one of these then try to reposition your model until you find a way for it to sit with minimal contact to the print bed.
Slow and small. Small and slow print settings will be your friend. A smaller extruder nozzle will result in a finer off-the-printer surface, this is best if you plan on using chemical vapors to smooth your print surface or if you want to preserve intricate details. Another element of cleaner prints, is using additional fans that are directed at the print itself just beneath the extruder.
Adjust For Your Equipment If you're using the ZMorph 2.0 SX multitool 3D printer or another high grade printer, additional fans and extensive sanding may not be required. A great example of a lower need for post-process pre-sanding can be found in Victor Pons’s dragon door knocker. Right off the print bed, there wasn't much need for filler as the printer didn’t leave much of any ridges. Allowing the hobbyist to spend more time going above and beyond. In this case, make sure to use a bonding paint since the surface is already smooth. Just goes to show that everything effects how to paint 3D printed objects.
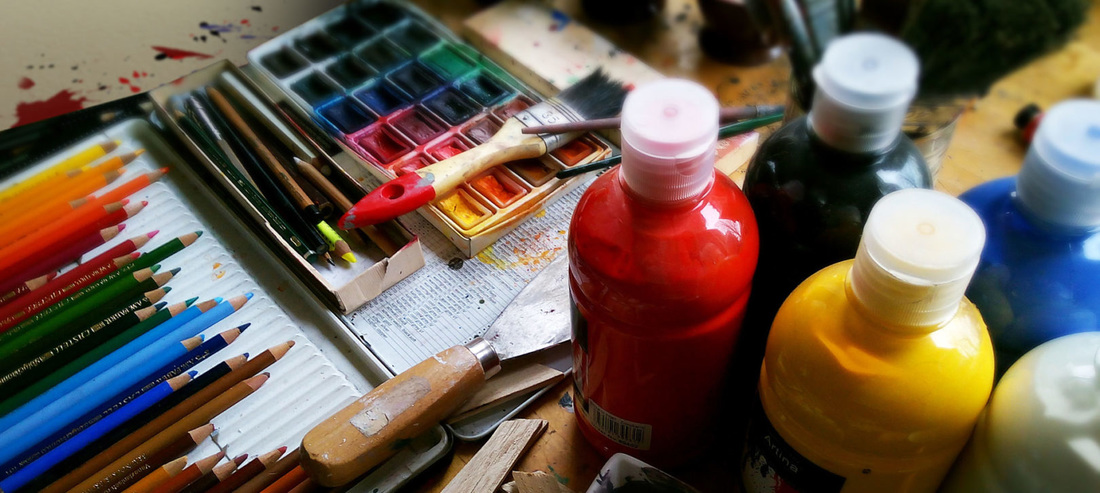
Always Optimize Your Surface and Prime. Once you have vapor treated, sanded, and or coated your model with epoxy or resin, you’re ready to paint. Almost any project should include automotive primer, don't limit yourself to “3D printing” labeled materials. Acrylics, gesso, automotive paints, even iron powder can breath life into your project. Avoid epoxy on 90 degree angles, as a brush on solution will round sharp details.
Plan Ahead. If you're moving the model by hand, pick a spot on the outside to hold it by and paint/prime/epoxy that area last. Nothing can be more frustrating than ruining hours of work with finger prints or moving layers of paint. If you’re model allows for you to use a stand, this would be best.
Don’t Let Your Work Go To Waste. Research your first layer, and find the paint that bonds best with it. If your model will be handled a lot or needs an extra shine, use automotive clearcoat. Another variable includes primer, satin, gloss, and matte paints for different looks. Once you have a little practice, try weathering techniques like scuffing and dabbing on accent colors only to immediately wipe them away. When possible, use what you have to your advantage, like the natural lines in 3d printing to accent faux wood.
As a general procedure:
1. Optimize your model digitally
2. Change your printer settings for quality rather than fast
3. Print Vapor treat if you can
4. Apply a filler putty where need be
5. Sand (raise grain count by 100-150 after each sand)
6. Apply filler primer
7. Sand
8. Apply standard primer or first paint coat
9. Wet sand Paint (preferably with an air brush)
10. When painting multiple colors, use sealing painters tape and go light to dark colors if you need to layer colors
11. Clearcoat, clearcoat, clearcoat.
Adapt How To Paint 3D Models
Adjust the chemicals, materials, methods, and repetition as need be for the filament and model you're working with. Always work with personal safety equipment, and in a well ventilated area. Though this may seem like a lot of work, it is enjoyable to most to extend the project after the initial print. As you move along the finishing process you’ll find constant reward as your print comes to smooth, shiny surfaces. Post processing is the difference between design and a product that stays around for years to come. After a few test runs, you’ll have the skills to bring your models to show room status. Use this advice as a modular procedure, as it can change to best fit nearly any project your heart desires. This list has been crafted from observing professionals and well known enthusiasts to really learn how to paint 3D printed objects without any fluff or methods that are only rumored to work. So practice, practice, practice, your project will thank you for it.
Research:
https://youtu.be/5sblh0bBHoQ
https://youtu.be/AU8WvGveNj4
https://youtu.be/2WjMTDIaJ3A
https://youtu.be/p3V90i8vo_k
http://www.sculpteo.com/blog/2015/09/07/the-ultimate-finish-from-3d-printed-to-final-product-look/
https://youtu.be/Bc-zTKs4_1Y
https://youtu.be/7LVu3Ir10UQ
http://blog.zmorph3d.com/3d-printed-door-knockers/
https://youtu.be/xiMK-e_Cqm8
https://pinshape.com/blog/4-easy-steps-to-painting-3d-prints/#cleaning-up-your-print
https://www.smooth-on.com/product-line/xtc-3d/

 RSS Feed

